Physical Address
304 North Cardinal St.
Dorchester Center, MA 02124
Physical Address
304 North Cardinal St.
Dorchester Center, MA 02124

If you’re experiencing slow browsing or website errors, learning how to clear cache in Microsoft Edge can instantly boost performance. This comprehensive guide covers 5 proven methods to remove temporary files, with step-by-step instructions for all Edge versions (Windows, Mac, Mobile).
Before we explore how to clear cache in Microsoft Edge, let’s understand why it’s essential:
✅ Fixes loading issues (broken pages, formatting errors)
✅ Protects privacy (removes stored site data)
✅ Saves disk space (clears gigabytes of temp files)
✅ Improves speed (faster page loads)
✅ Resolves login problems (outdated cached credentials)
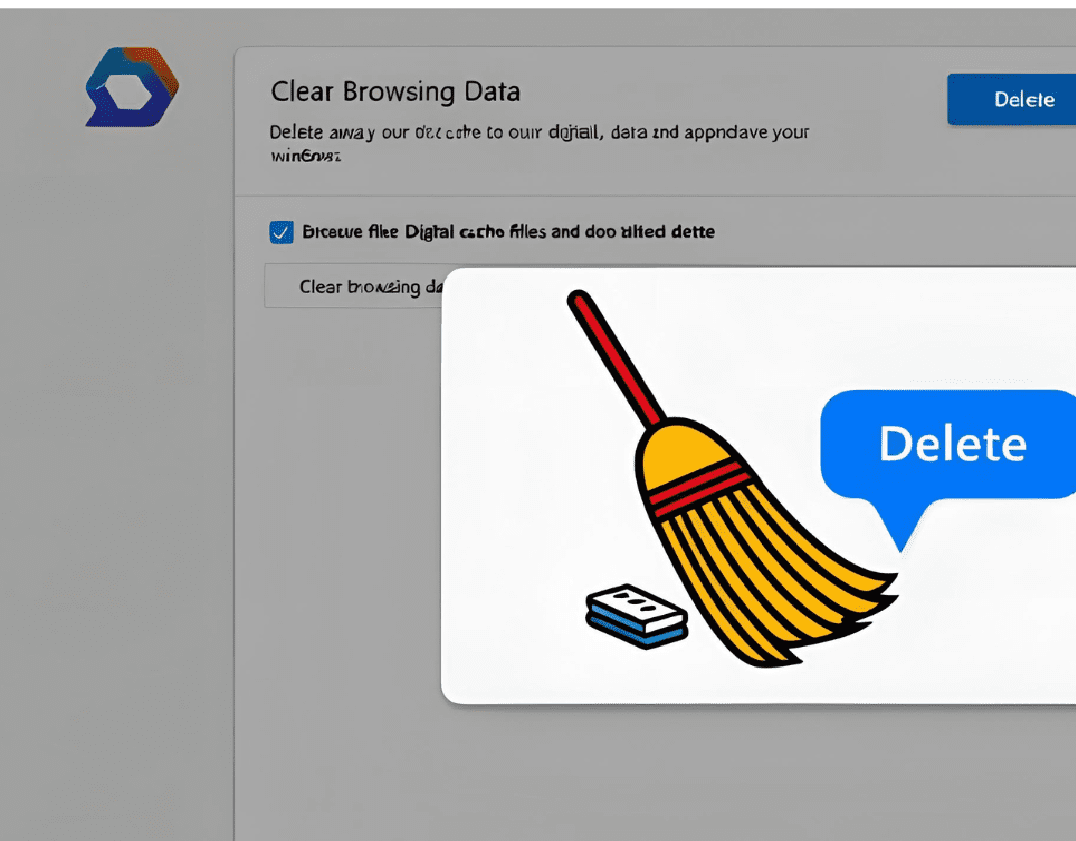
The fastest way to clear Edge cache:
✅ Pros: Instant, no settings navigation needed
❌ Cons: Doesn’t clear advanced data types
Pro Tip: Bookmark edge://settings/clearBrowserData for one-click access.
For precise control:
📌 When to use: When you need to keep passwords/history but remove cache.
Set Edge to auto-clear cache:
🔒 Best for: Shared computers or privacy-focused users.
Fix single-site issues without full reset:
🌐 Works for: Stubborn sites like Facebook, YouTube, or banking portals.
When standard methods fail:
⚠️ Warning: This removes extensions/themes too. Backup first.
| Method | Speed | Data Kept | Best For |
|---|---|---|---|
| Keyboard Shortcut | ⚡⚡⚡⚡ | History/Passwords | Quick fixes |
| Selective Clear | ⚡⚡⚡ | Custom selection | Precise control |
| Auto-Clear | ⚡⚡ | Session data | Privacy protection |
| Site-Specific | ⚡⚡⚡ | All other sites | Troubleshooting |
| Full Reset | ⚡ | Nothing | Major issues |
🔧 Disk Cleanup Utility (Windows):
📁 Manual Cache Location (Advanced Users):
%LocalAppData%\Microsoft\Edge\User Data\Default\Cache~/Library/Caches/Microsoft/Edge💡 Bonus: Use CCleaner for automated system-wide cache cleaning.
No, unless you specifically select “Passwords” during cleanup.
Monthly for most users; weekly if you visit many media-heavy sites.
Yes, especially if you haven’t cleared it in 6+ months.
Normal behavior – Edge recreates cache files for visited sites.
Not natively, but extensions like Cache Limiter can help.
If issues persist: